I picked up bike commuting as a new habit a few years ago, and I started to pay attention to the different bike shapes and sizes. I noticed that some bike saddles were very high while the handlebar was set very low compared to the saddle. I wanted to find out why some people had their bikes set up this way and if I should do it too.
Why are some saddles higher than the handlebars?
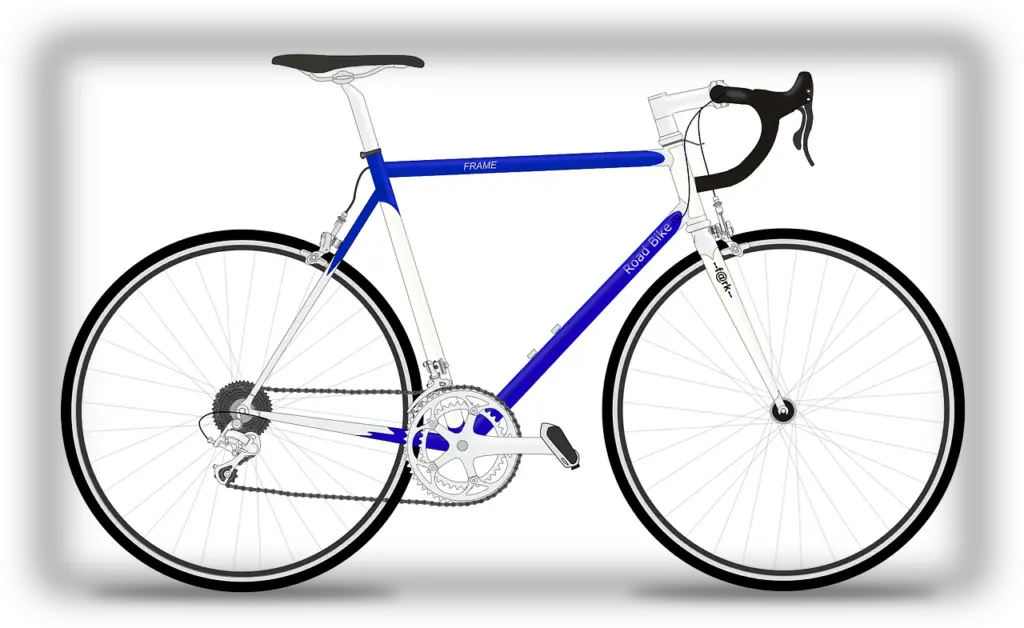
The saddle of some bikes is higher than the handlebar to put the rider in a more aerodynamically favorable position. A low handlebar allows the rider to lean forward more, which reduces the drag. This makes a measurable difference at 16 mph (25.5 km/h) and above. This is called an aero position.
The height of the saddle, or as other people refer to it as ‘bike seat,’ usually depends on the comfortability, the experience, and the type of riding of the cyclist. If you already have some experience riding and you want to go on fast rides, it’s best to adjust your saddle higher than the handlebars. Bikers call this the ‘aero position.
Electric bikes built for everything and priced for everyone. Shop Rad Power Bikes, America's #1 electric bike brand. Get out. Go further. Ride Rad.
This is recommended in longer rides because a higher saddle and lower handlebar creates a riding position wherein your hips and legs are angled in a way they can maximize their power in the pedal stroke whilst being low in aero.
To achieve this position, you should lower your handlebars to be able to prop your head lower than your back. Remember that the goal is to get your upper body horizontal to the ground. Then narrow your elbows as much as you can, but not to the point that it compromises your breathing. This enables your frontal area to boost its power, making you go faster.
What use aero position?
The aero position is commonly used on road bikes, which are designed to ride fast. These bikes have different kinds, each made with delicate variations depending on their purpose. The more speed performance-oriented a ride is, the more it makes sense to sit in an aero position.
We have race bikes, which, obviously, are for racing also used by professionals.
We also have the Time Trial (TT)/Triathlon bikes, which contain aerodynamic features that help the rider go faster with less effort and better airflow. These bikes are designed to be fast and therefore, it’s set up with a higher saddle and lower bars.

There are also gravel bikes, endurance bikes, touring bikes, but since these bikes are designed for longer rides, and on a variety of terrains, the aero position is less pronounced on them. The handlebars of these bikes are often just slightly below, level, or even above the saddle, to ensure a more comfortable and relaxed ride.
As mentioned above, the height of the bike saddle and the handlebars usually depends on the comfortability of the rider and the type of ride.
Is the aero position comfortable?
The aero position is first and foremost efficient, but not necessarily comfortable, although one can get used to it. If you’re a newbie rider, you definitely won’t find the aero position comfortable.
There are a couple of ways to help you adjust.

First, you should get a proper biking fit. You can ask for a professional biker’s tips on your frame size and positioning. Refrain from forcing yourself into a position that compromises your bike control as doing so calls for possible accidents.
Second, you can get yourself a trainer to watch out for you and correct your position mistakes.
Third, remember that a little goes a long way. Practice the aero position little by little, a few minutes until you can sustain the position longer.
Lastly, focus on building your core and upper body strength. This is important since the aero position exerts power and is sustained by these parts. Various exercises can help improve your core and upper body strength, such as planks, push-ups, sit-ups, and the like. Mastering the aero position is not an overnight process, but consistency and dedication will surely bring you great results.
How much difference does aero position make in terms of efficiency?
Cyclists riding in the aero position may reduce their aerodynamic drag by as much as 25%, which results in approximately a 1 mph (1.6 km/h) higher speed riding at 18 mph (29 km/h).
A statement in Illumin Magazine said that the aero-position is considered as the most significant advancement in cycling throughout the past thirty years.
Compared to other biking positions, this posed far better results in the cycling performance of riders not only in terms of speed but also in power, bike control, and breathing. Imagine how a subtle change in a biker’s position can result in great results.
However, the aero position should be practiced as not doing so and hopping on a long ride may cause detrimental effects not only to your riding efficiency but also to your safety.
Should you ride in the aero position?
If your aim is to ride fast on paved roads, then you will benefit from the aero position. In order to feel safe and to feel safe in it and enjoy its benefits, you need to spend some time getting used to it.
There are a lot of factors to consider when pursuing this kind of setup, such as your weight, body frame, endurance, etc.
The aero position has a lot of advantages, which is why a lot of riders recommend it. However, its execution is accompanied by lots of practice. If you wish to pursue this setup, it’s best to consult a professional to help you pick the best equipment to match your physical attributes adequately and to train you.
How long does it take to adapt to the aero position?
For a completely new rider, it takes a few weeks to a few months to get used to riding aero. You need to master the basics of cycling and need to have a strong core before you progress to lowering your handlebars.
While there are riders who claim that it only took them one ride to adjust fully, it’s still strongly advised to change gradually.
Sure, a slight change in position brings excellent results. However, a small change can also be as dangerous. Take one step at a time.
For instance, you can start with the saddle height. Adjust it little by little, and the same goes with your bars. Together with the saddle, you can adjust the saddle a little bit higher and adjust your torso a little bit lower until you reach the flat-body position. Start with short rides ranging from a few minutes until your body gets used to it, then go on longer and faster rides.
Cycling is simple at its very core, but the more you get into riding seriously, there’s a lot to learn. If you’re completely new to cycling, spending some money on a proper bike fit is going to go a long way.
Happy pedaling!