This has to be one of the most annoying parts of cycling. You have just had a tube puncture, and you have managed to install the new tube, only to find the new tube has been punctured during installation when you try to pump it up!
Any help to prevent this from happening again is always welcome.
It is first important to note the main ways a tube puncture can happen before installing a new tube.
The main causes are:
Electric bikes built for everything and priced for everyone. Shop Rad Power Bikes, America's #1 electric bike brand. Get out. Go further. Ride Rad.
- The tire lever used punches the tube and puts a hole in it while you are installing the tire on the rim
- The tube gets pinched between the tire bead and the rim
- The cause of the original puncture has not been fixed – for example some glass or a nail that goes through the tire is still in place
- Some dirt has been knocked into the tire during installation and it punctures the tube when under pressure
Now we will cover some of the best tips to help change tires and tubes without getting punctures:
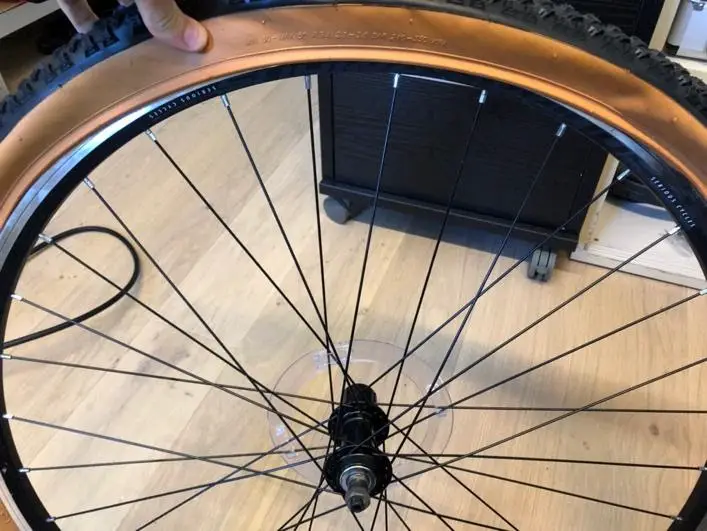
Check the tire and wheel before installing the new tube
Always make sure you check the tire and the inside of the wheel rim before installing the new tube. Can you see any damage or sharp objects going through the tire?
Gently run your finger around both the inside of the tire and the inside of the wheel rim to make sure there are no sharp objects or edges that could puncture the tube when it is inflated.
Also, if you are in dirty conditions, make sure you don’t get new dirt into the wheel or tire. Shake the wheel and tire before starting the final installation just to make sure no debris has accidentally gotten inside that might puncture the tube later when it’s being inflated.
Warm the tire before installing it
You can’t do this by the side of the road in winter, but if you have access to a warm room or a heater, or it’s a hot day, you can make it much easier on yourself to mount the tire.

The rubber tire expands much more than the metal rim when heated. So, if you heat both the wheel and tire together – perhaps park your bike inside for a few hours if it’s cold outside before changing the tire – or if you can heat the tire on its own, then the removal and mounting of the tire will be much easier as the size of the tire has increased, and it will be looser on the wheel.
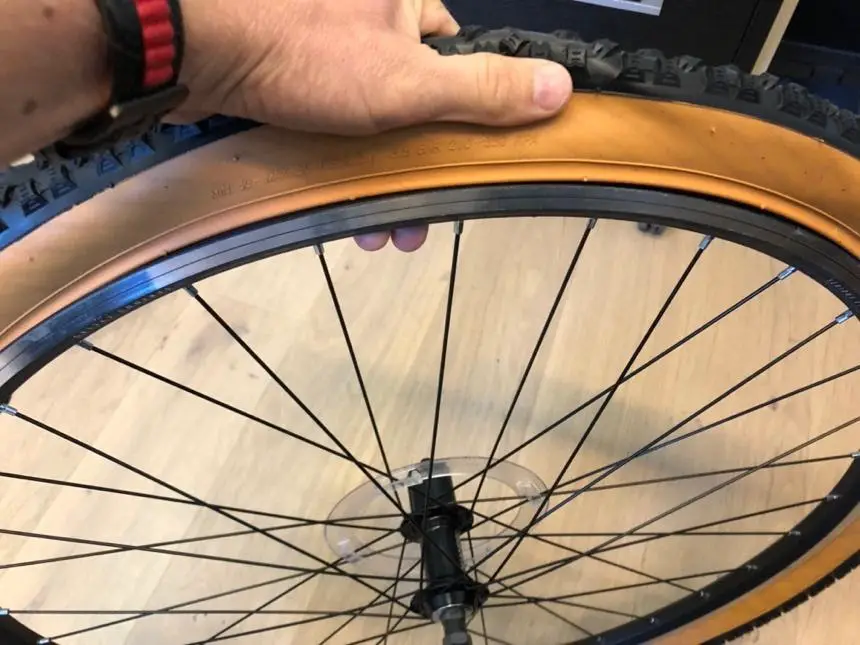
Try it without tire levers
Levers are normally required to remove a tire but are less required to install a bike tire.
It may not be for everyone, but it is the best way to ensure you don’t puncture the tube with a tire lever – don’t use one!
It is easiest to not use a lever if the weather is warm, or you have pre-heated the tire as per the above advice, or if your tire is old as it stretches a bit, like old elastic on your clothes, or if you have strong hands.

Check out this video for a demonstration of how it can be done without levers.
The most important part is to “roll” the top of the tire over the rim during the final stages and to make sure the tube is totally inside the wheel cavity at this point.
Slightly inflate the inner tube
To help the tube sit properly inside the tire and wheel during installation, slightly inflate the tube. One or two pumps are normally enough, you just want the tube to be slightly rounded. This also makes it less likely to squeeze out of the side of the tire and to be pinched if you use tire levers or when you inflate the tube.
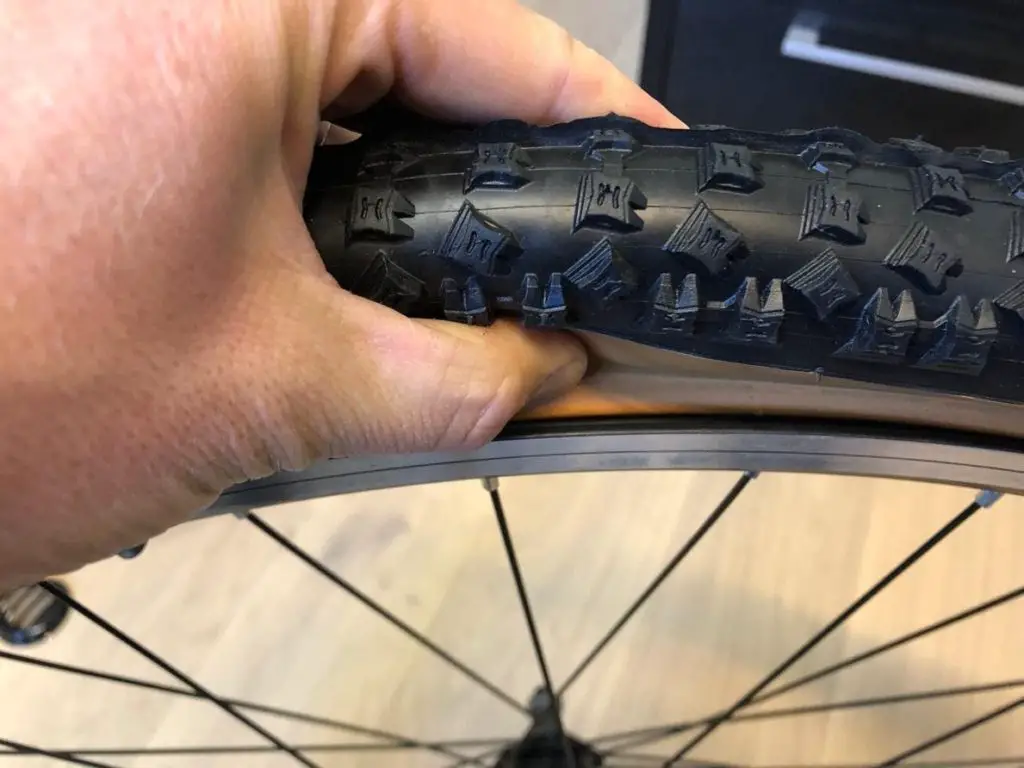
Make sure the bead of the tire is down as you install the tire
This sounds more technical than it really is…
As you install the tire, go back to the areas where the tire is already mounted and simply squeeze the tire inwards, so the edges of the tire (bead) go down inside the wheel cavity.
This helps as it reduces the diameter of where the tire sits on the wheel, so it reduces the force required to get the last section of the tire onto the wheel.
Be aware, when the tube is inflated, you want the tire bead to sit on the rim – that’s how it’s designed. This is simply a trick to aid during the installation.
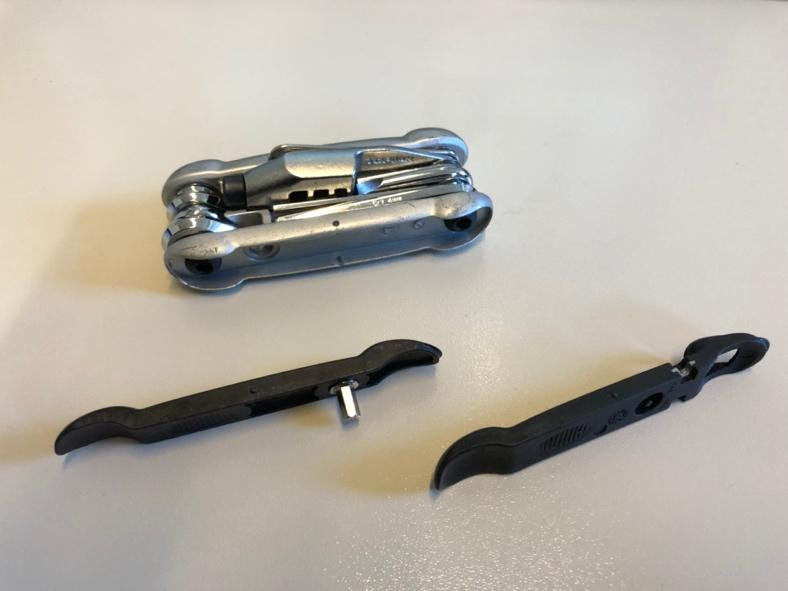
Only use the lever to finish getting the tire on, and use a plastic one
So, if you aren’t able to mount the tire with your hands only, use a tire lever. Make sure it’s plastic and has a decent but not sharp hook on the end! In fact, using two is better than one too as one can be used to hold one edge in place while you install the other edge.
For the first stages of mounting the tire, the tire is loose, so you can do this with your hands alone. Then when you get to the final section, the tire becomes quite tight, and it seems like it will be impossible to get the tire over the rim of the wheel.
This is when you need to use the lever. At this point make sure the tube is inside the tire. Push the lever between the tire and the rim, close to where the tire is already inside the rim, and smoothly lever the tire inside the rim. Make sure to not pinch the tube on the inside of the rim at this point too.
Bonus! Here are some extra tips to help prevent you getting a puncture in the first place:
Make sure your tire pressure is always high enough
I see many people riding around with flat tires. Typically I pump my tires up at least twice per week to make sure the pressure is high enough. This has two benefits; firstly, when the tire has enough pressure it is less likely that the rim will crush the tube if you ride across a pointed edge, like a kerb, and then cause a flat tire. Secondly, it makes it easier for you to ride as the high-pressure tire provides less rolling resistance.
Check on the side of the tire for the range suggested. Unless you are sensitive to the vibration or shock, I would recommend to have the pressure as close to the maximum pressure advised as you can.
Having your own
Use puncture-resistant tires
A really good idea is to use puncture-resistant tires. Since I have been using them, perhaps for 10 years now, I have never had a puncture from normal circumstances while both mountain biking and riding in cities. They are slightly more expensive, slightly heavier, and slightly harder to mount, but I have never regretted using them.
Use solid tires – no tubes
If you never want to have to change a tube, the best way is to use a solid tire. This will never puncture as it is simply only rubber and/or foam. There are variants that are a combined tire and tube, or also a foam tube replacement.
Typically, they are less common as the negative points of lower traction, less ride comfort, and reduced efficiency compared to air (pneumatic) tubed tires don’t outweigh the positives for many people. But if you simply don’t want the hassle of an air tube, and can handle the negative aspects of a solid tube this is the best option to take.
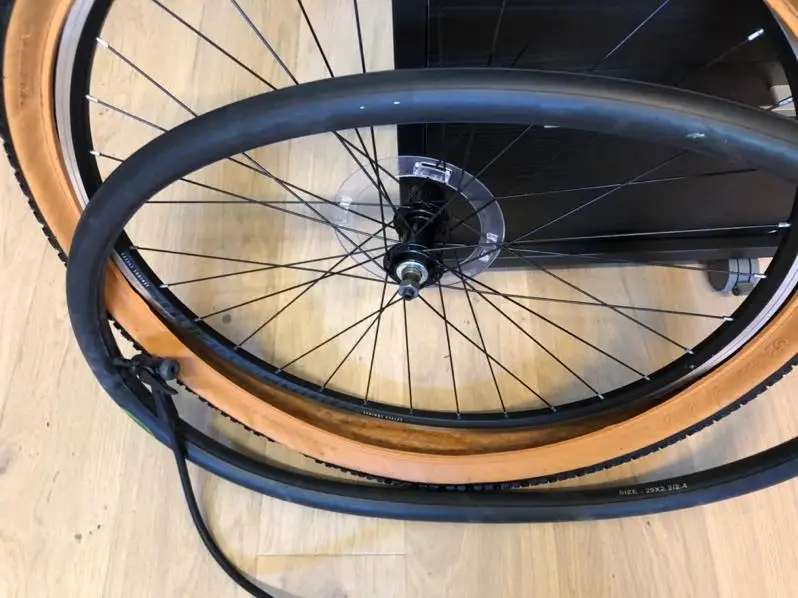
Use folding bead tires
Most heavy-duty commuter tires, such as the Schwalbe Marathons and the Continental Contact tires have wire beads, which makes them quite difficult to install. When you put them on it’s quite likely that you are going to need tire levers to put on the last bit.
Folding bead tires are easier to install because the bead is made out of rubber and it’s not constrained by the wire, which can’t expand.
If you are looking for folding bead tires that still offer some good puncture protection, take a look at the Continental Gatorskin Tires. The puncture-resistant rating isn’t as high as some heavy-duty commuters, especially if find lots of thorns on your way, but they are much easier to mount in exchange, and you save some weight too.
My favorite bike commuting products
Here are some of the products I love using for bike commuting. They make riding so much more fun and enjoyable.
Ergon GP5 Bar End Grips: These are super comfortable, ergonomic grips that offer me two extra hand positions on my flat bar bicycle. They also offer a much more comfortable grip that helps distribute my weight on the handlebar better.
Bar end mirrors: If you ride much among cars then a bar end mirror can make riding much safer. You don’t have to turn around every single time to check on the traffic coming from behind.
Bike lights from Cateye. This is essential year-round. I recommend going for a more powerful light than just a to-be-seen light. I like the 800-lumen ones from Cateye because they are affordable, portable, and still, give out plenty of light so I can see where I’m going even in pitch dark. The battery lasts for a long time too, and it’s USB rechargeable.
Bike rack. This bike rack from Dirza is great because I can put it on almost any bicycle regardless of whether they have mounting points for racks or not. I can leave it on my bike for commuting or take it off for weekend rides or whenever I don’t need a rack.
If you want to check out my full list of recommended products, you visit my recommended gear page.
Happy pedaling!