While a flat tire is literally a deflating experience, you don’t have to let it ruin your day. We have 13 bikes in the family, which have given me several opportunities to repair flats both at home and on the roadside. I’ve collected my best tips here. Consider the following tips for patching vs. replacing your bike’s inner tube, and apply a few simple suggestions to ensure you’re well-prepared to fix your next flat in record time.
Replacing your inner tube is simpler than patching it and it gets you back on the road about 10 minutes sooner. On the other hand, patching the inner tube is not difficult, and it allows you to deal with several flats in a row. Having a spare inner tube and a patch kit combines the best of both worlds.
The most efficient way of dealing with a flat is to replace the inner tube on the road and fix it at home. It’s still a good idea to carry a patch kit in case you have to deal with subsequent flats.
Pro tip 1: new tube for the first flat
For starters, be sure to carry a pump, wrench, pliers, spare tube, and tire levelers with you whenever you’re riding. Keeping these supplies with you will allow you to replace your flat tube in about 15 minutes and save you the frustration of walking your bike to your destination.
Electric bikes built for everything and priced for everyone. Shop Rad Power Bikes, America's #1 electric bike brand. Get out. Go further. Ride Rad.
Once you’ve returned home you can easily and affordably patch your punctured tube, which will preserve the money in your wallet while also recycling the otherwise useless tube. Best of all, the patched tube can be added to your spare kit and will perform as well as a new tube when repaired with vulcanizing glue and a patch. More to come about the importance of using vulcanizing materials.
Pro tip 2: a spare inner tube may save the day
Some punctures just can’t be patched because they are excessively large (e.g. a blown inner tube), too close together (within 6 inches), or too close to the valve stem. Also, a patch kit can’t fix a damaged valve stem. In these cases, a new tube is the only solution to get you back on your bike.
Patch a tube like a pro
If you’ve never patched an inner tube before, you may think that you’ll save lots of time by simply removing and replacing your flat tube with a new one. In truth, it only takes about 10 minutes to repair a puncture with a patch when you have the proper materials and tools, which include:
- Puncture repair kit (including vulcanizing patches, vulcanizing glue, and sandpaper (like this one on Amazon)
- Set of tire levers (I like metal tire levers as they are super durable and don’t break even with wire beads)
- Air pump (I started using an electric air pump, which I’ve been quite happy with for the past few months)
- Useful items: water to locate holes, pen to mark holes, rags, and alcohol solvent to
- Clean the tube and rubber gloves for skin protection.
High-quality vulcanizing patch kits can be purchased for under 10 dollars, and some are priced for as little as 3 dollars and include multiple patches of different sizes.
Follow these easy-to-follow steps when patching your bike’s inner tube:

First, remove the tire from the rim. You can do it with the quick release, or if your wheel is secured with nuts, you will need a wrench. Make sure all of the air is out of the tube.
Once the inner tube is fully deflated, squeeze the walls of the tire together until it drops into the center of the rim.
Next use tire levers to remove one side of the tire from the rim. Removing only one side of the tire provides plenty of room to remove the inner tube and makes for a quicker refit.
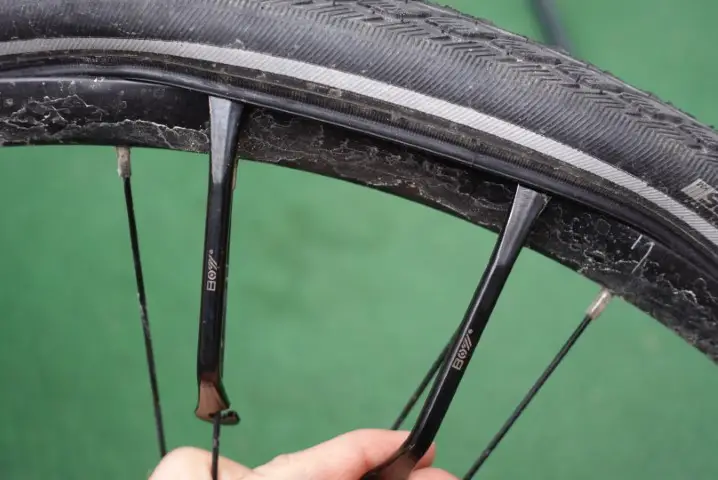
Remove the inner tube by pulling out the valve stem first, then pull the rest out of the tire. Once the tube is removed, check the tire for sharp objects that may still be lodged. Carefully inspect the outside of the tire, and run your fingers along the inside of the tire to feel for objects. Be careful not to cut yourself!

Use pliers to remove any objects lodged in the tire if you have any available. Also, inspect the rim to ensure it has not been damaged and possibly caused the puncture(s).
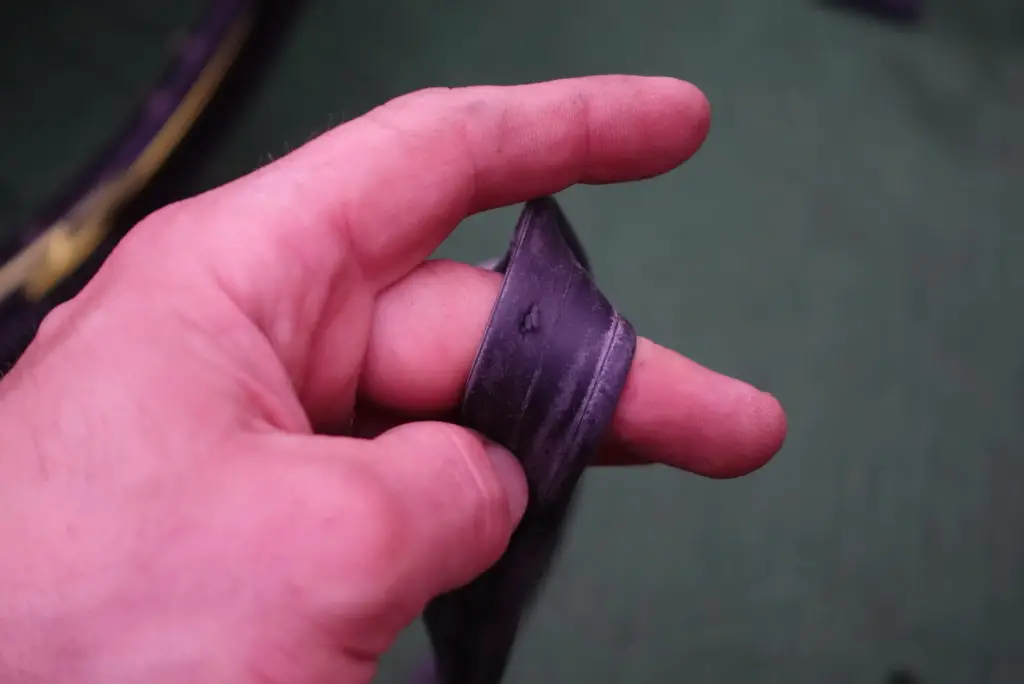
Next, search the tube for punctures by filling it with air and listening or feeling for escaping air. If you can’t find the leak, try submerging the tube in a sink at home or pouring bottled water over the tube when on the road. Check the tube thoroughly to ensure you don’t have multiple punctures.
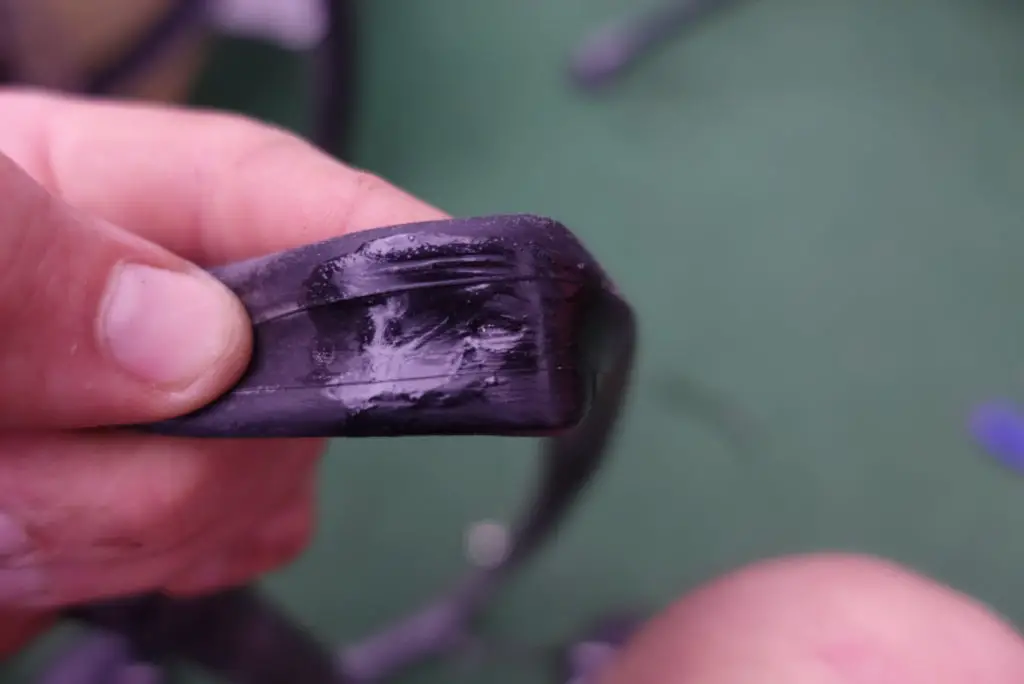
After you’ve found the puncture(s), clean the surrounding area(s), and ensure the tube surface is dry before proceeding. Next, use a metal scuffer or sandpaper to roughen the area around the puncture.
Once roughened, coat the area with a thin layer of vulcanizing glue. Let it dry completely, then apply a large patch to cover the puncture fully. If your patches are self-adhesive, you can skip this step, as you don’t need to pre-apply glue to the inner tube.
If you use vulcanizing patches, wait for the glue to set for about 5 minutes before applying the new patch.
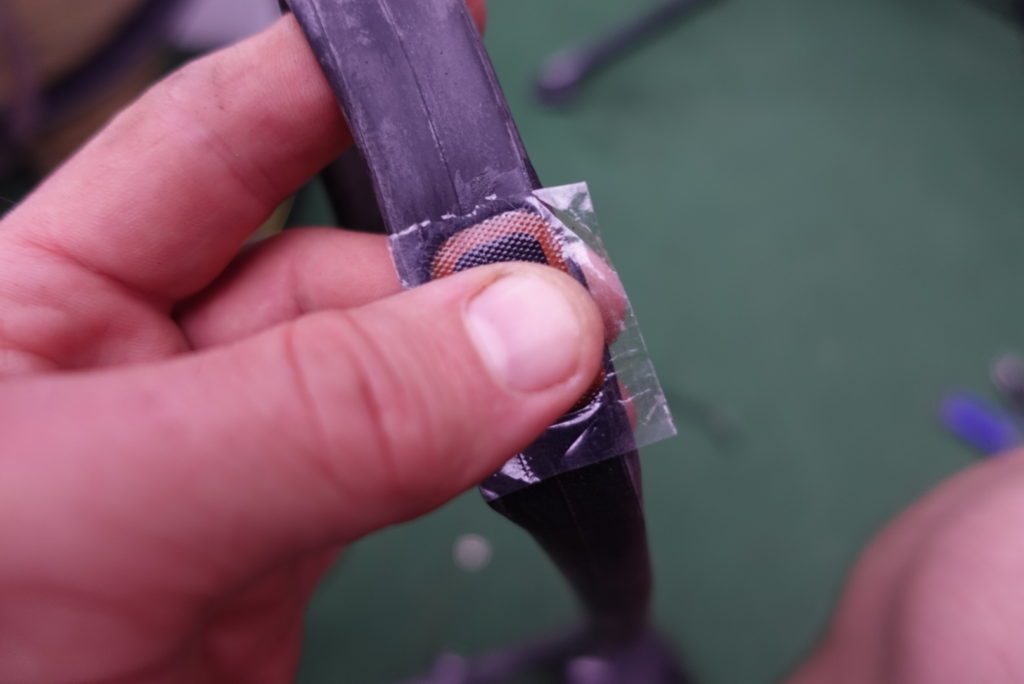
Press the patch firmly over the hole and hold it there while the glue, patch, and inner tube fuse together to form a lasting bond. Wait five minutes before slowly inflating the tube to ensure the repair was successful. Repeat the process on any remaining punctures.
When finished with your repair, remove a little air from the tube so that it loosely holds its shape, then insert it back inside the tire, starting with the valve stem. After the tube is entirely inside the tire, squeeze the tire and use tire levers to position it back behind the rim, then continue pumping air into the tube until complete. Reattach the tire to the bike.
Voila! You’re ready to ride again.
Can You Use Duct Tape On A Tube?
Although duct tape shouldn’t be your first choice for repairing an inner tube, it can be a suitable temporary solution when you have no spare or patch kit available and simply need a quick fix to make it to your destination.
When using duct tape, clean the tube’s surface, then cut a piece of tape covering the hole.
Next, place the tape over the hole, making sure the hole is in the center of the strip. Last, use additional duct tape to wrap entirely around the tube over the punctured area.
How Long Do Patches Last?
Decent patches applied properly last for the lifetime of the inner tube because the tube and the patch fuse chemically, forming an inseparable bond. Be sure to use vulcanizing patch kits. Other patches may offer the benefit of being faster. Still, it comes at the expense of less durable materials that don’t fuse to the tube as well as vulcanizing patches applied with vulcanizing glue.
Can You Patch Over Another Patch?
You may succeed in placing a new patch over a failing patch, but the durability of the repair decreases, and the likelihood of the patch failing increases. If you have no spare tube available and your only option is to patch, try to carefully remove the old patch, scuff and clean the area, then apply vulcanizing glue and a new patch. In this case, you should replace the inner tube as soon as you get a chance.
How Many Times Can A Tube Be Patched Before Replacing?
Properly applied patches rarely fail, and five or six patches on a tube are not too many. The secret to a good patch is proper surface preparation. Tubes develop an oxide layer on the surface, and adhesion will be poor unless you properly scuff and clean around the punctured area before applying the glue. Also, follow the manufacturer’s directions, which will typically require allowing the vulcanizing glue to dry completely before applying the patch.
Conclusion
With a spare tube, a patch kit, a pump in your bag, and a little practical experience under your belt, you can deal with flats without problems.
Happy pedaling!